


LIGHTING & DECORATING PLASTERBOARD
Most customers have an expectation of a perfectly flat, blemish-free plasterboard surface finish. In practice, however, such finish is impossible to achieve and all that can be realistically expected is the perception of flatness.
A major cause of dissatisfaction with plasterboard surfaces is, in fact, unfavourable lighting from internal or external sources.
Knauf has updated its popular Lighting and Decorating Plasterboard Guide to assist architects, interior designers, builders, plasterers and home renovators in achieving the desired wall and ceiling results.
Design Influences
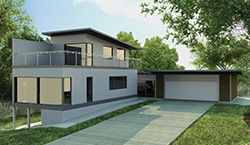
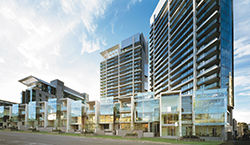
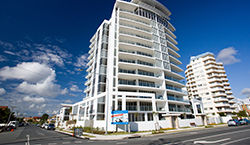
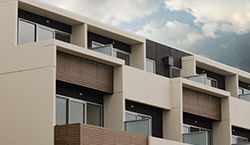
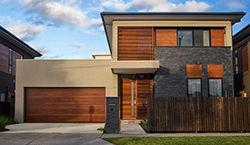
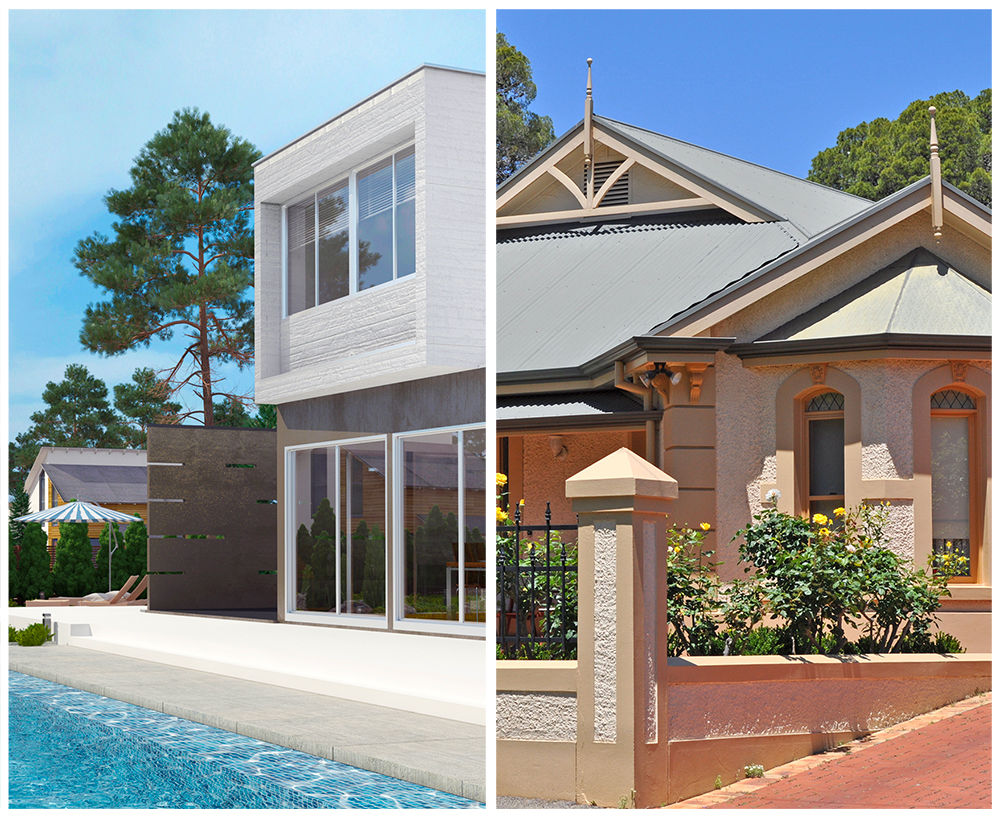
There are many factors in modern building design that influence the overall appearance of walls and ceilings. Many of today’s homes have large open living areas with unbroken ceilings across adjoining rooms and, importantly, large windows and skylights. While providing the desired modern and spacious look, these features often create lighting conditions detrimental to the appearance of wall and ceiling surfaces.
It is important that surface finish expectations are based on what can be realistically achieved given the design features of the project, particularly when some design features are likely to magnify any minor surface irregularities.
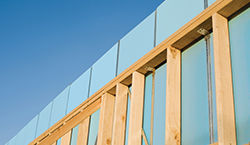
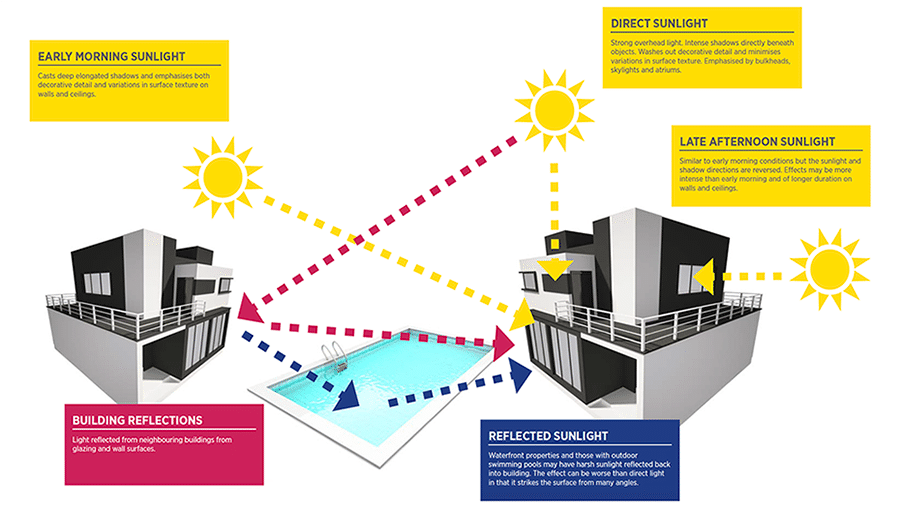
When considering the effects of building orientation and window size and positioning on appearance of wall and ceiling surfaces, one should be aware of the effects of external light at different times of the day.
Natural Lighting Influences
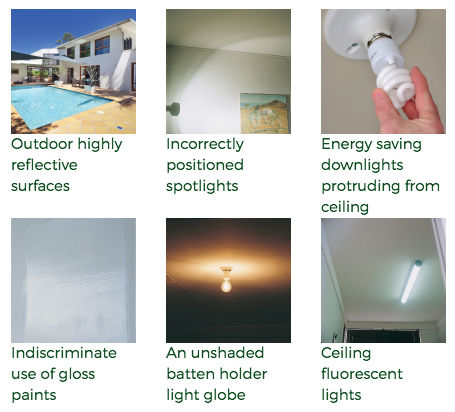
Examples of unfavourable lighting

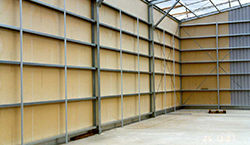
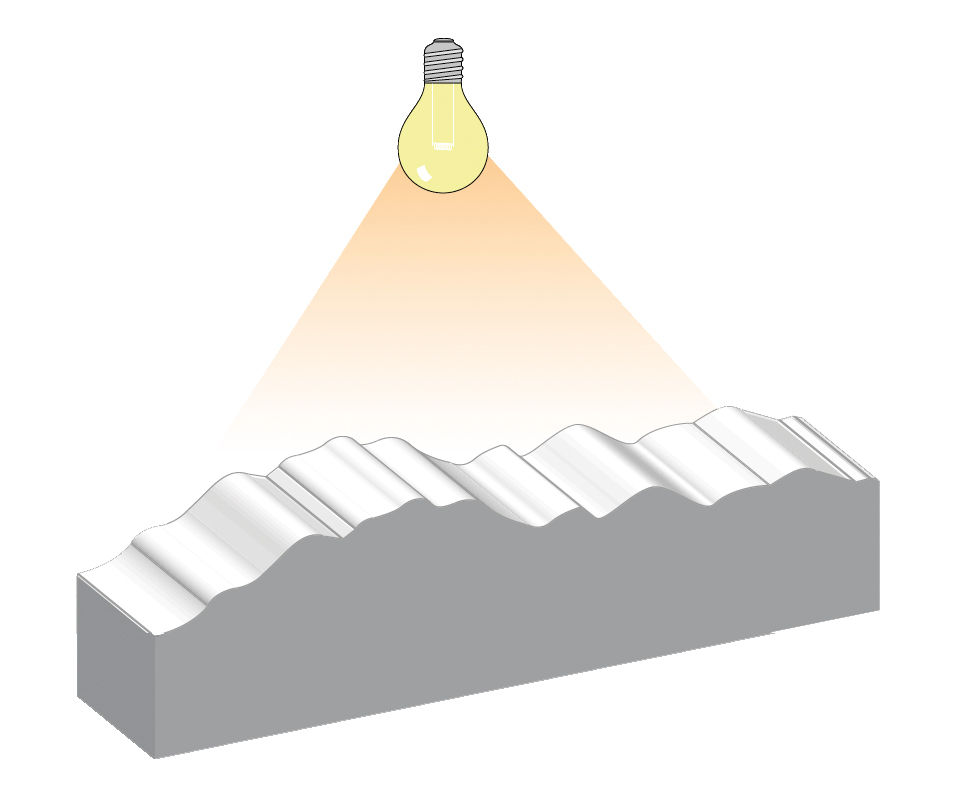
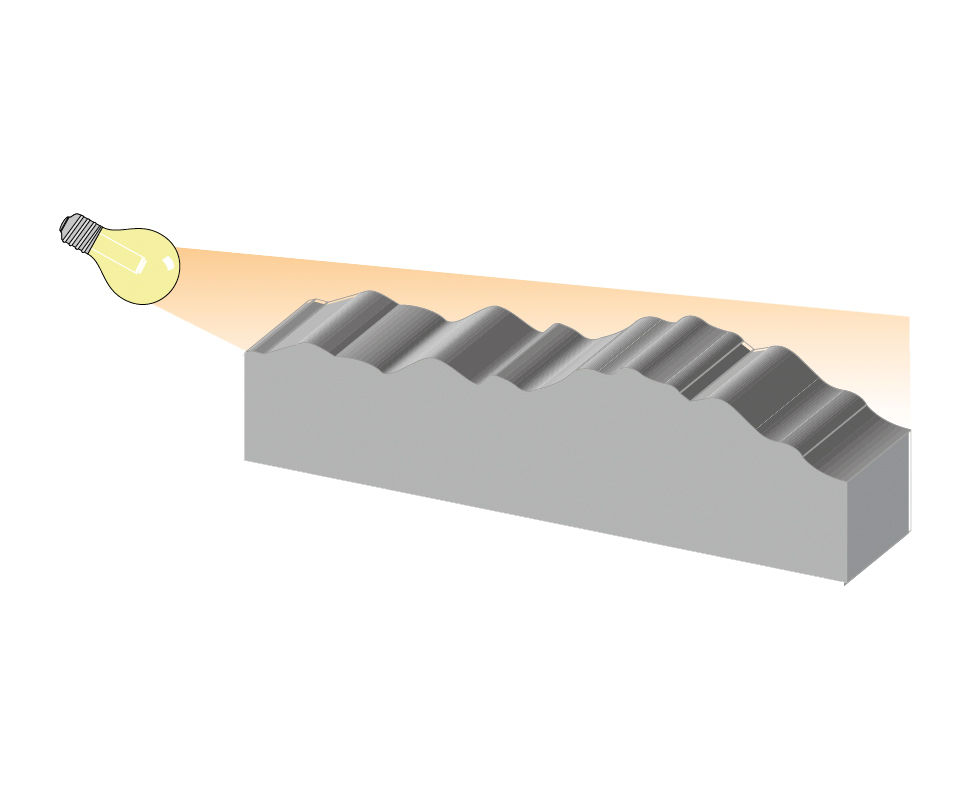
Glancing Light
When architects, builders and home owners are considering what standard of finish is desired for plasterboard walls and ceilings, it is important to understand how the overall appearance is likely to be affected by glancing light.
Glancing light is the light that shines directly across the surface of a wall or ceiling.
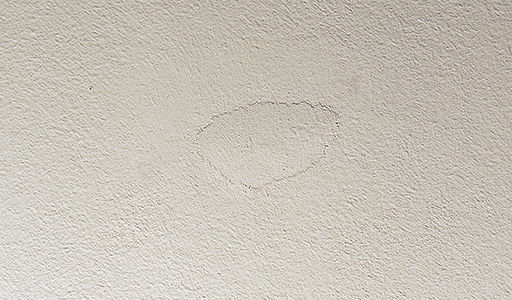
Glancing light magnifies surface irregularities and can spoil the look of the highest quality surface finish.
Glancing Light
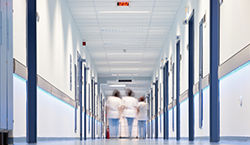
Critical instances of glancing light can occur when a single unshaded light source is fixed directly to the ceiling or wall, but also in rooms with windows up to ceiling height or adjacent to walls.
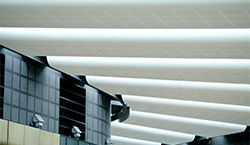
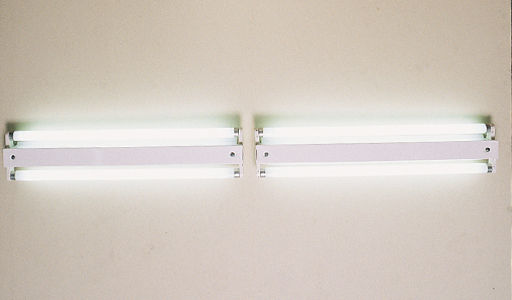
A particularly severe glancing light problem occurs when a surface-mounted fluorescent batten light fitting is placed parallel with the plastering joints. Resultant high intensity white light falling at a shallow angle will magnify any surface irregularities.
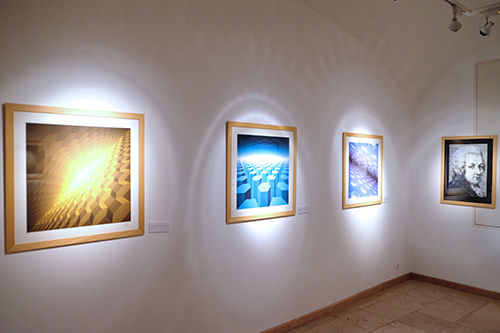
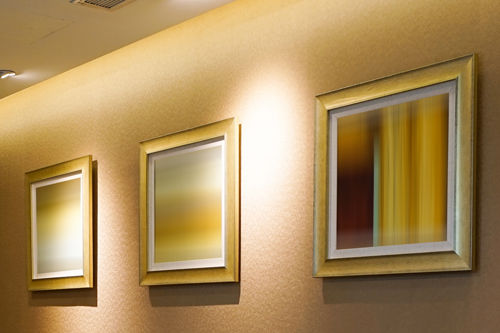
Incorrectly positioning a spotlight to highlight an object can also create a glancing light effect emphasising surface irregularities on walls and ceilings. Feature or spot lights should only light the featured object.
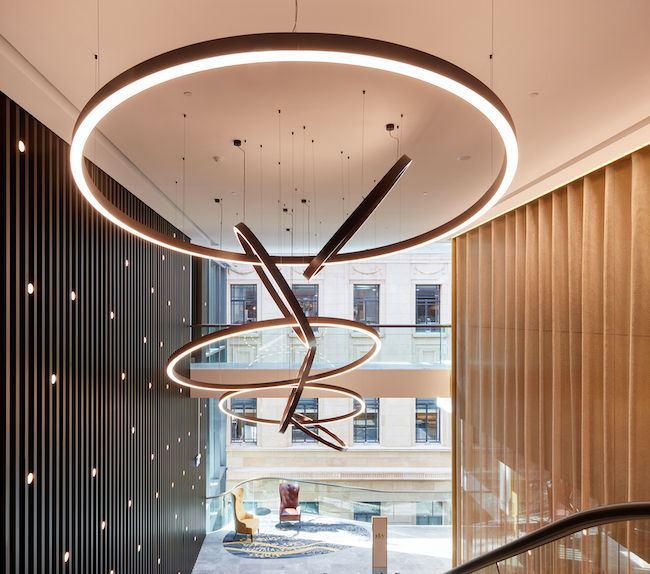
Lighting
Lighting is one of the most important elements in building design and can add that special finishing touch. One must be aware of the effects of glancing light when considering lighting types and positioning. Modern lighting solutions can help to balance illumination and shadow and to achieve a better outcome in a new home or commercial project.
Although the selection of light fittings is usually governed by taste and budget, it is wise to consider lighting effect on internal surfaces even before construction is commenced.
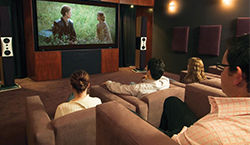
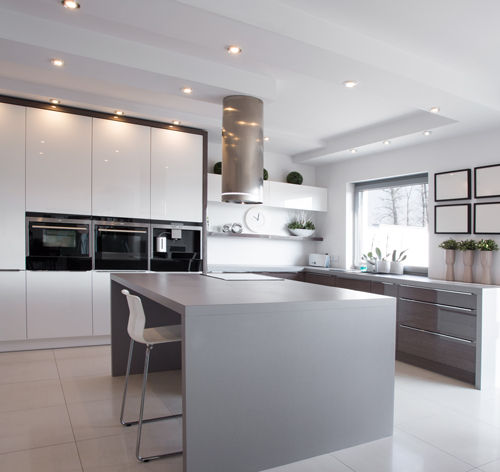
Large living areas, which are a feature of modern open plan designs, are the most severely affected by glancing light. Consideration should be given to illuminating such areas with general diffused light using downlights or spotlights, in combination with local accent lighting such as floor lamps, table lamps, etc.
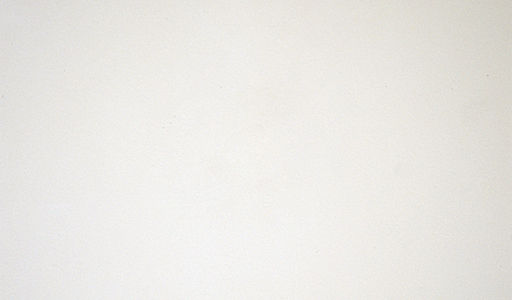
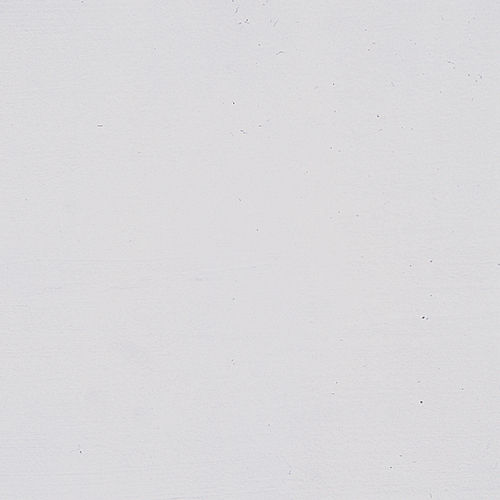
Favourable Lighting
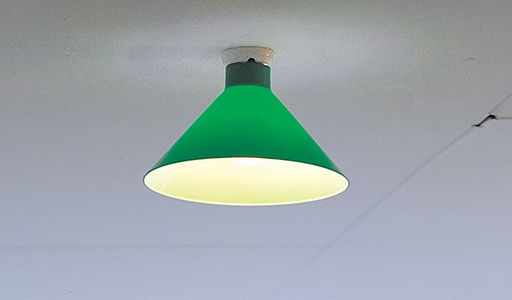

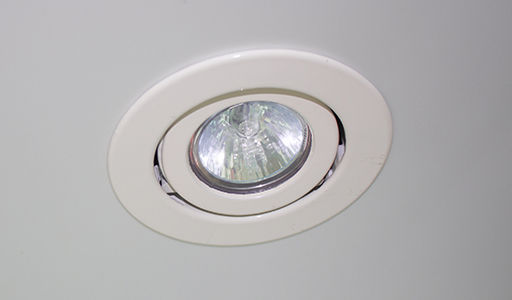
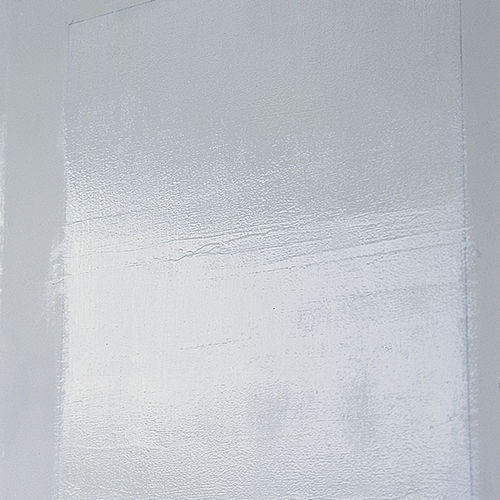
Unfavourable Lighting
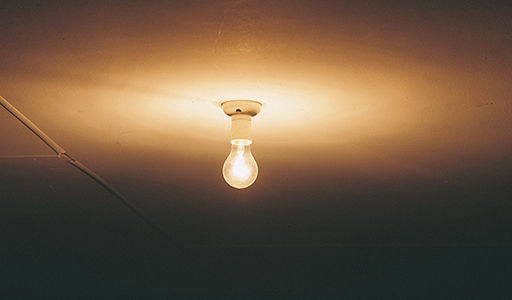
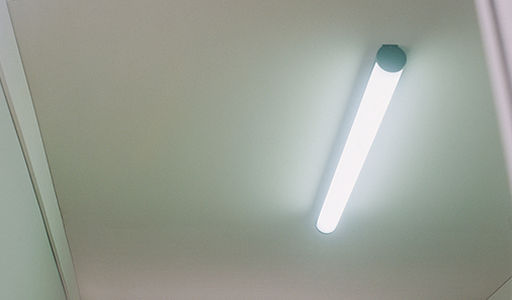
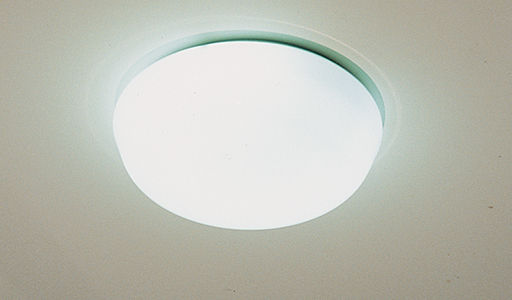
Favourable Lighting
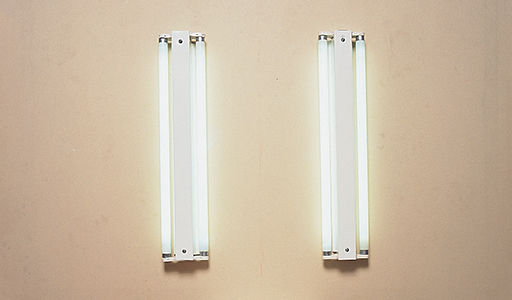
Unfavourable Lighting
GLOSS/SHEEN PAINT FINISHES
Gloss and even semi-gloss paints will accentuate surface variations regardless of the direction of lighting or the viewing angle. Flat paints however, reflect light in a diffused form and thus mask surface variations.
As plasterboard’s paper surface has a different surface texture from hand applied jointing materials, this difference in texture can be accentuated by gloss paints.
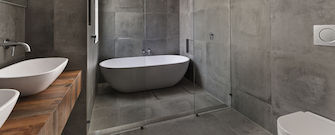
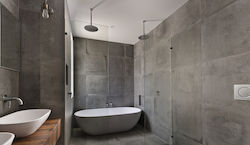
Where gloss or impervious sheen paint finishes are desirable or mandatory for functional reasons (eg in kitchens, bathrooms and commercial food preparation areas), some loss of appearance can be expected, even when the work has been carried out to the highest level of workmanship.
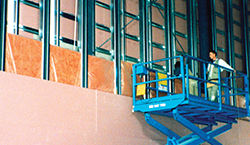
LEVELS OF FINISH
DEFINITION
The term ‘level of finish’ applies to plasterboard linings prior to decoration.
AS/NZS 2589 ‘Gypsum linings – Application and finishing’ defines three levels of finish: Levels 3, 4 and 5. Level 4 is the default level of finish for plasterboard surfaces, unless otherwise specified.
It is essential that the level of finish is determined at the design stage since each level of finish has specific requirements for substrate tolerances and plasterboard installation, jointing and finishing. The desired level of finish may not be achieved unless all of these requirements are met through various stages of construction. For a full description of levels of finish refer to AS/NZS 2589.
Level 3
This level of finish is used in areas that do not require decoration or where finish is not important (for example, above ceilings or inside service shafts and the like).
Level 4
This is the default and generally accepted level of plasterboard finish.
Level 5
Level 5 finish should be used where gloss or semi-gloss paints are specified or where flat or low sheen paints will be exposed to critical lighting conditions. Level 5 finish is characterised by a parity of surface texture and porosity.
JOINT INSPECTION AND TOLERANCES
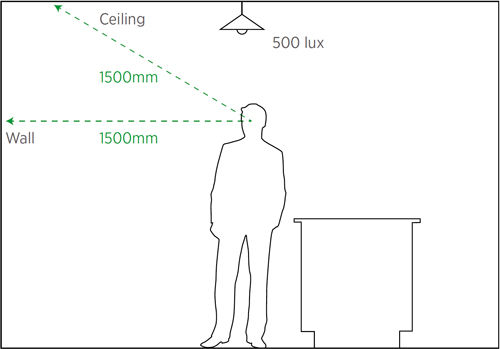
As outlined in AS/NZS 2589:2017 ‘Gypsum linings – Application and finishing’, a visual inspection of wall and ceiling surfaces should be carried out from a distance of 1.5m or greater, under normal lighting conditions.
Plasterboard surfaces should not be inspected under high intensity lighting or under glancing light conditions.
Allowable tolerances for plasterboard joint build-up are outlined in AS/NZS 2589:2017 ‘Gypsum linings – Application and finishing’.
Refer AS/NZS 2589 and the relevant industry publications for guidance on conducting plasterboard joint inspections.