


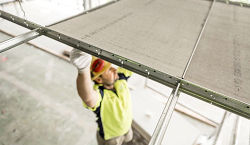


Plasterboard Ceiling Installation & Care – A Guide for Homeowners
Plasterboard Ceiling Installation & Care – A Guide for Homeowners
Recent plasterboard ceiling collapses reported in South Australia and less recently in Western Australia re-emphasize the importance of good ceiling aftercare and maintenance by homeowners.
Ceiling failures in homes are potentially very dangerous and can be costly to fix. The following is a guide for all homeowners who have plasterboard ceilings within their homes.
The issues
There are several contributing factors that can cause problems within a ceiling system. These include but are not limited to:
· Weight overload due to storage in roof void such as lights, mechanical services, air conditioning units, ceiling fans;
· Structural movement of roof trusses and framing members;
· Moisture in the ceiling space, including lack of sarking to the underside of the roof which helps prevent moisture condensation in the ceiling cavity;
· Wallboard installed incorrectly as a ceiling board; and
· Plaster contractors failing to install the ceiling in accordance with Australian Building Standards and manufacturer’s recommendations¹ including;
· use of non-compliant (short) screws;
· inadequate application of the stud adhesive
· Screws located too close to stud adhesive locations
Ceiling collapse can cause injury and damage. There are usually warning signs that a ceiling is under stress or failing and if they occur, owners should act quickly to arrange inspection and repair of the affected areas.
What are the warning signs?
Warning signs of the ceiling being under stress:
- - a loud cracking sound in your ceiling;
- - sagging or dropping of the plasterboard sheeting and/or the cornice; and/or
- - noticeable cracking and/or small circles (nail pops) on your ceiling. If you can see small circles or indents (about the size of a shirt button) scattered along a straight line it may be a sign that your plasterboard ceiling may be pulling away from the nails/screws.
What checks can I do?
If you have concerns about the stability of your plasterboard ceiling, you can:
1. Measure the height of your ceiling where it meets the wall and then measure the ceiling height in the middle of the room. A variation in height of 12mm or more could indicate the plasterboard has detached from the ceiling joists/framing.
2. Check to see if there is a gap between the ceiling boards and the framing (joists). This can only be done by accessing the ceiling space.
NOTE: Accessing your ceiling space presents numerous hazards and it is strongly recommended that you engage a suitably qualified person to carry out this activity. Should you choose to enter your ceiling space make sure all power is isolated beforehand.
What should you do if you find a warning sign?
If you note any of the warning signs listed above you should contact the builder as ceilings should be constructed to last the life of the building. If you are unsure as to the builder of your home, you can contact your local government building authority to provide this information.
Homeowners who believe their ceiling is vulnerable to collapse should take immediate steps to secure the ceiling. It is recommended homeowners contact a suitably competent ceiling contractor/installer who can brace the ceiling and permit further investigation into potential causes of ceiling instability prior to refixing the plasterboard ceiling.
Care of your ceiling
Ceilings are designed to hold only the weight of the ceiling framing, the plasterboard, ceiling insulation, and light-weight light fittings. If you intend to store household items in your roof space additional supporting framework will be required. This should be discussed with your builder and/or a suitably qualified Engineer beforehand.
Moisture entering the roof space can also cause damage to the plasterboard, resulting in sagging of the board and/or failure at the fixing locations. If you have a leak into the roof space you may need to remove affected insulation (replace once dried) and moisture damaged plasterboard lining.
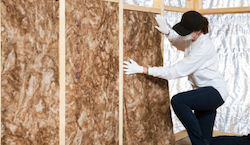
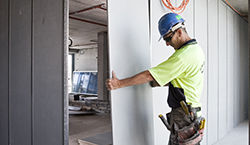
What to do - during the build
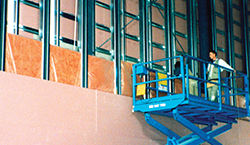
With careful and correct construction of plasterboard ceilings by the plaster contractor and increasingly the owner/builder, homeowners can help to guard against many of the potential causes of the ceiling collapse.
DO install the ceiling system in accordance with the manufacturer’s installation guide
DO Provide additional framing to support fixtures (lights and air-conditioning/ventilation, ceiling fans)
DO check that all exhaust fans are ducted to the outside air and are not discharging into the ceiling space.
DO ensure cross-flow ventilation
DO Check Air conditioning ducts regularly to ensure conditioned air is not leaking into the ceiling space from tears in the flexible ducting or loose connections.
DO Limit/ or where possible eliminate dead load weight (storage items etc.)
DO Take great care when working in a roof space so that no damage is caused to the plasterboard ceiling. It can be very difficult for workers carrying heavy equipment such as air conditioning components over a ceiling and any substantial movement of the ceiling framing or plasterboard lining can result in screw pops and loss of adhesion of the fasteners.
DO use adequate stud adhesive/screw spacing
DO use 30mm “W” type screws into timber
DO use temporary blocks with adhesive
RECOMMEND 1/3rd fixing method
RECOMMEND include Sarking
RECOMMEND use Metal battens
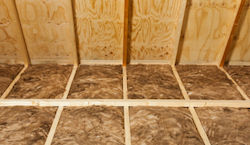
Application of Stud adhesive (glue):
As per manufacturer’s recommendations, it’s important that enough stud adhesive is applied to framing and that the stud adhesive has had adequate pressure applied to it while ‘curing’ (setting) so it can bond to both the timber/metal and plasterboard surfaces. This is done by fixing temporary blocks to the plasterboard and framing while the stud adhesive cures.
Length does matter
The use of correct 30mm length ‘W’ type screws into pine framing will ensure ceiling boards are firmly fastened to the framing. Shorter 25mm screws into pine framing do not provide enough thread hold.
a) Timber – ensure the length of the screw is long enough to apply approx. 20mm thread into the timber.
b) Metal – at least three threads must protrude beyond the steel to which the plasterboard is being fastened.
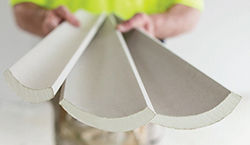
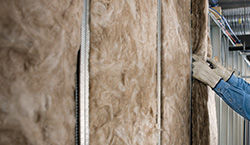
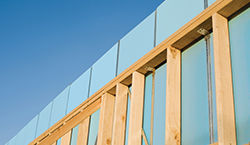
Sarking
Although not a requirement by the builder unless the roof pitch is less than 22.5 degrees, sisalation and/or sarking helps to protect the ceiling void from moisture ingress and condensation. The use of sarking under the roof material also helps to minimise timber deformation and plasterboard ceiling deflection.
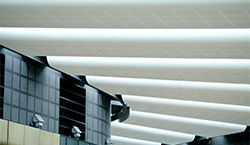
Ventilation
Roof spaces without cross-ventilation are more prone to the accumulation of heat build-up and humidity which can result in plasterboard defects, or the growth of mold and mildew due to condensation.
A combination of “whirlybird” fans and slotted /vented soffit linings will assist to equalize the temperature/humidity in the ceiling space and rooms below.
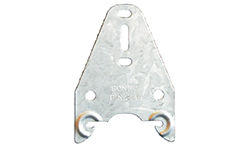
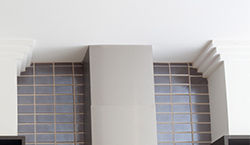
Ceiling Battens
The installation of metal ceiling battens in the ceiling system can help reduce movement-related ceiling defects such as peaking or cracked joints and popped fasteners.
Metal battens work well with timber trusses as they can significantly reduce movement and provide the opportunity to ‘level’ the ceiling. Two types of battening systems are available – ‘Battens on Clips’ or ‘Direct fix’
What can you do - after the build?
Look out for rainwater leaks/flood damage
Take care to observe the effects of heavy rainfall/storm events on your roof. Ensure rain has not entered your roof space due to broken or misplaced tiles or other damage to your roof. Installing sisalation /sarking could save your plasterboard ceiling from potential water damage later.
Take care when installing light fixtures, ventilation fans, and air-conditioning appliances – particularly in old home renovations
If incorrectly installed and/or fitted in the roof space - heavy mechanical appliances sitting unsupported on the plasterboard ceiling may contribute to ceiling problems - particularly in older homes where water damage/moisture may also be an issue.
Don’t use plasterboard ceiling/roof spaces for household storage
As with mechanical appliances, the weight of storage boxes and other household items sitting on unsupported board (ie. not on structural framing members) may also contribute to ceiling sag or failure over time.
IMPORTANT NOTE
If you notice a problem with your ceiling, Knauf strongly urges you to request an inspection with the builder/installer.
Disclaimer
The information contained here is intended as an explanatory guide to plasterboard ceiling installation and the relevant Australian building standards with which it must comply. It is provided as general information and a guide only. It should not be relied upon as legal advice or as an accurate statement of the relevant legislative provisions. If you are uncertain as to your legal obligations, you should obtain independent legal advice.
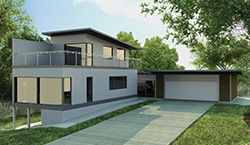
This guide relates to internal residential ceilings constructed using gypsum plasterboard and not external ceilings or ceilings constructed from different sheeting materials. External ceilings including garage ceilings are required to be constructed differently to internal ceilings as they are subject to different environmental conditions depending upon the location of the building.
For more information, refer to the Plasterboard Installation Manual available on the Resources & Tools page.