


PREPARING FOR DRYWALL INSTALLATION
To guide you on your drywall installation project, here’s a helpful walkthrough:
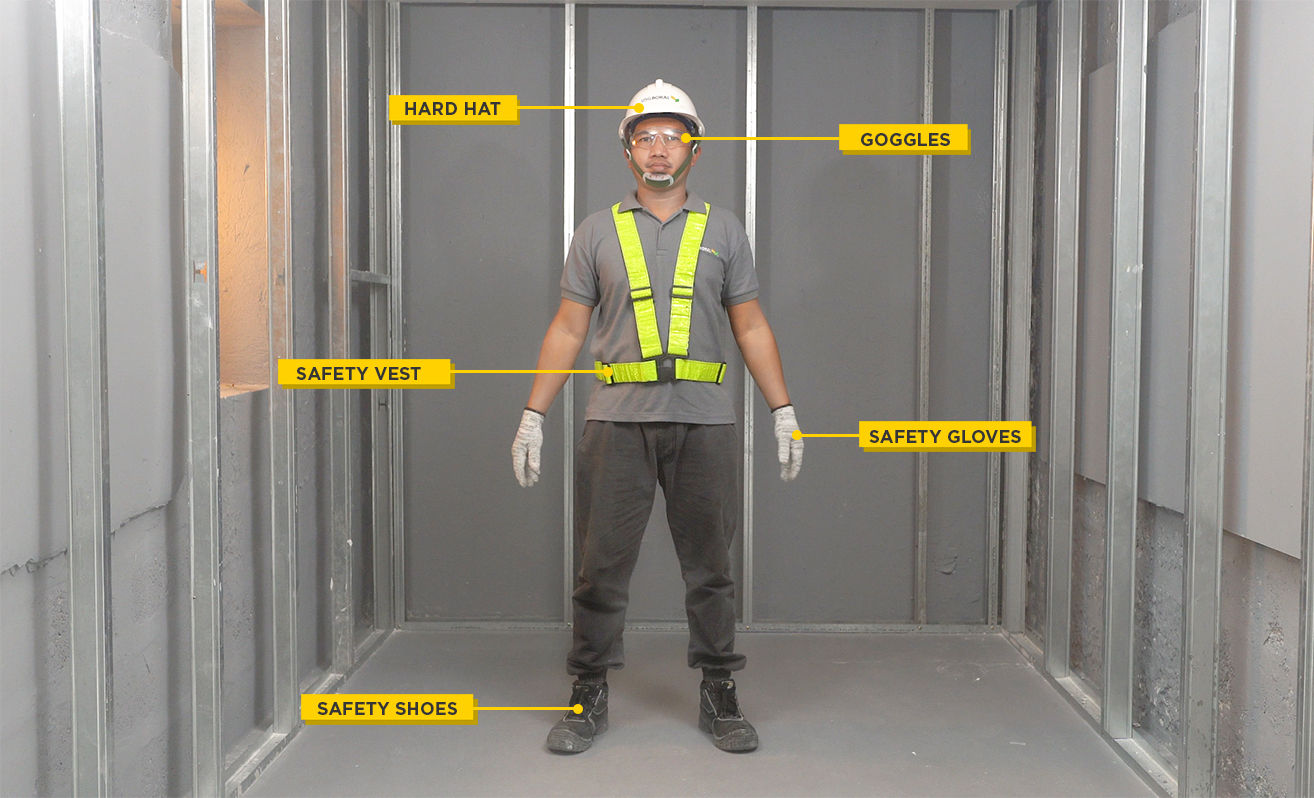
1. Ensure that you have the right PPE (Personal Protective Equipment)
In any construction project, big or small, safety and preparedness come first. Before starting, make sure that you have the right personal protective equipment on-site, including helmets, safety vests, goggles, safety gloves, and safety shoes.
2. -- and the right tools.
Here's what you'll be needing:
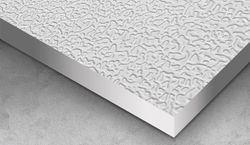
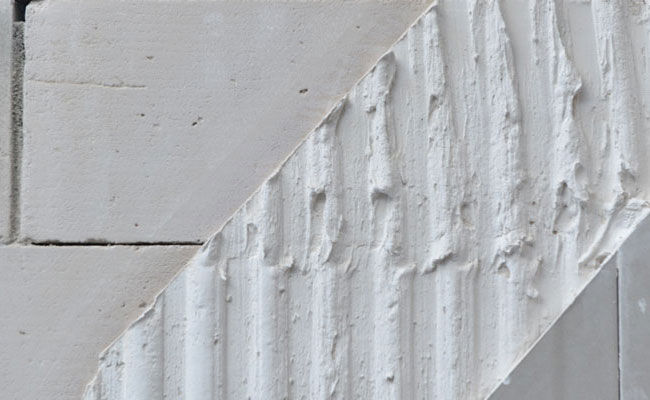
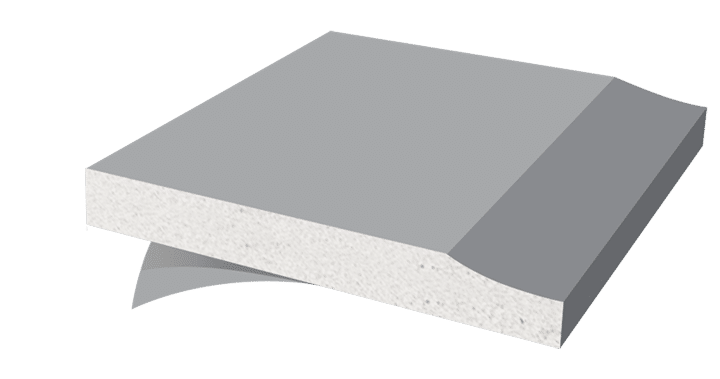
• Knauf StandardShield 9mm or 12mm gypsum board
• Knauf Premium Premix or Premium Jointing
• Knuaf Paper Joint Tape
• Gypsum Screw
• Power drill
• Wall track
• C-studs
• T-square
• Steel tape measure
• Pencil and cutter
• 4" and 6" taping knife
• Pail
• Mixing board
3. Determine how many gypsum boards to get.
It's easy to estimate how much gypsum board will be used just compute for the total area of drywall and ceiling or use the Gypsum Board Material Estimator. However, it does take some planning to end up with as few joints as possible.
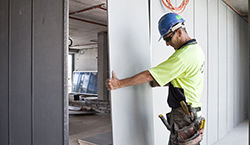
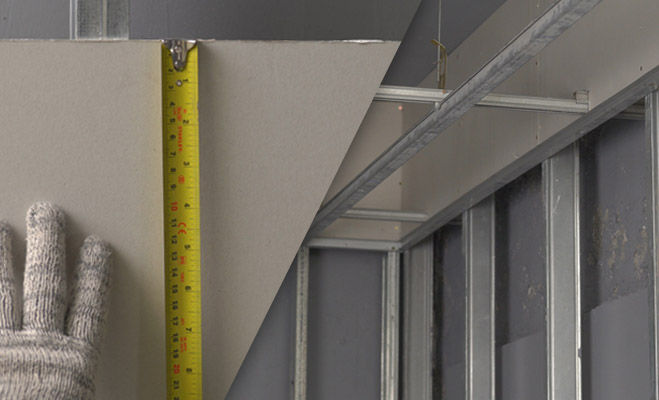
4. Attach the frame.
First, ensure that your materials have the correct dimensions. Then before proceeding to the next step, check if your metal frames are evenly spaced.
In any construction project, big or small, safety and preparedness come first. Before starting, make sure that you have the right personal protective equipment on-site, including helmets, safety vests, goggles, safety gloves, and safety shoes.
Unlike other boards, horizontal noggings (balagbag) are not necessary when using Knauf boards.
Metal should comply with ASTM C645 and C754. Consult with your metal framing supplier.
5. Cut panels to size.
Lay your drywall sheets/gypsum boards out on a dry, level surface. Measure the length you'll need for your project, and use a pencil to mark where you’ll be cutting. Then using a T-square as a guide, cut the board along the marks.
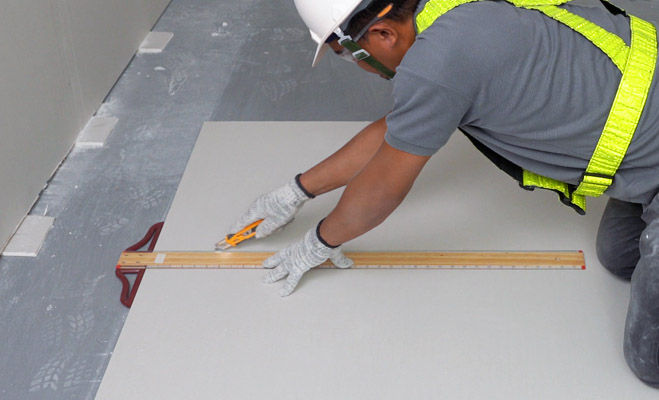
Cutting is quick and easy with Knauf gypsum boards. Mark the area to cut with a pencil, score it using a regular cutter, then snap.
.
.
EASY STEPS ON HOW TO INSTALL DRYWALL
Follow these steps to install your Knauf drywall:
Step 1
Ensure that all materials have been measured correctly and that the frames are properly aligned.
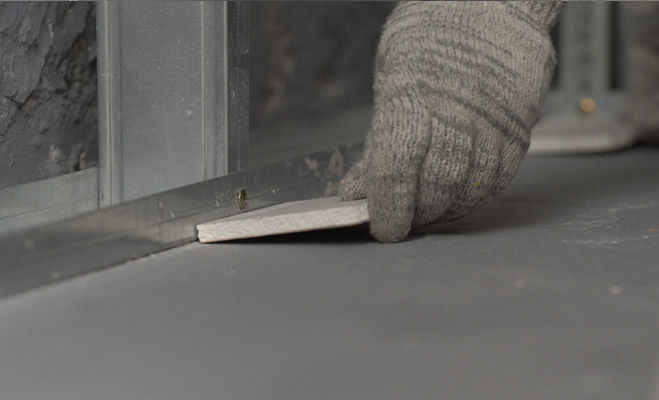
Step 2
Place packers (kalang) on the floor to serve as temporary support for the frames
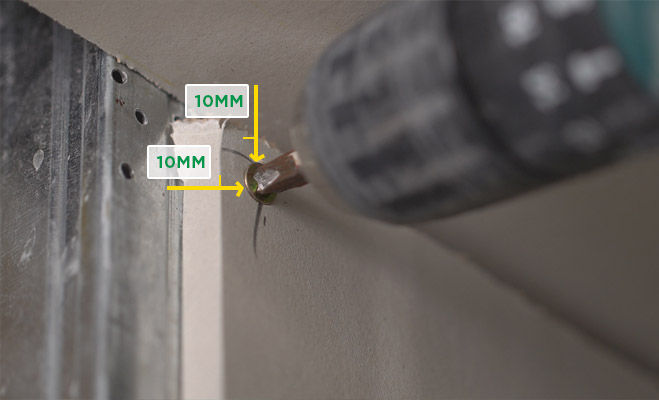
Step 3
Fasten the tapered edge with a distance of 10mm from the edge of the board. Make sure the screw heads are flashed with the gypsum board.
Step 4
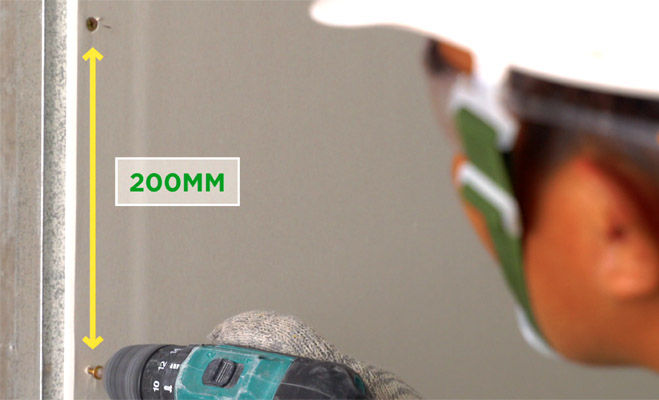
Space screws at 200mm on centers, max at board edges.
Step 5
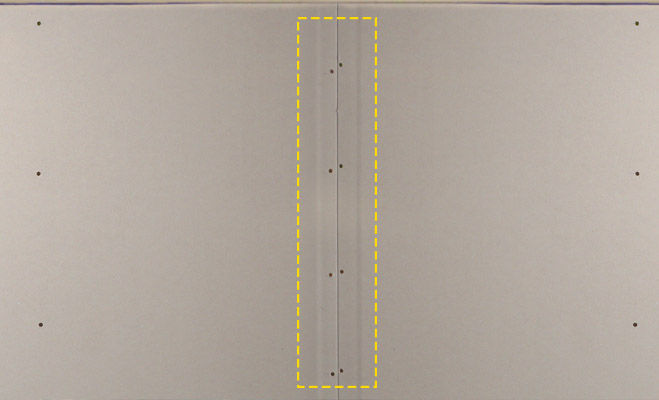
Stagger board joints.

Step 6
Repeat until one side of the wall is completed.

Step 7
Screw the center part of the board no more than 300mm apart from each other.
Step 8
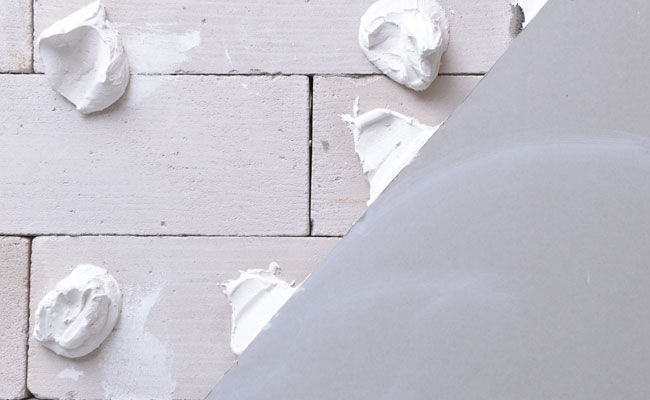
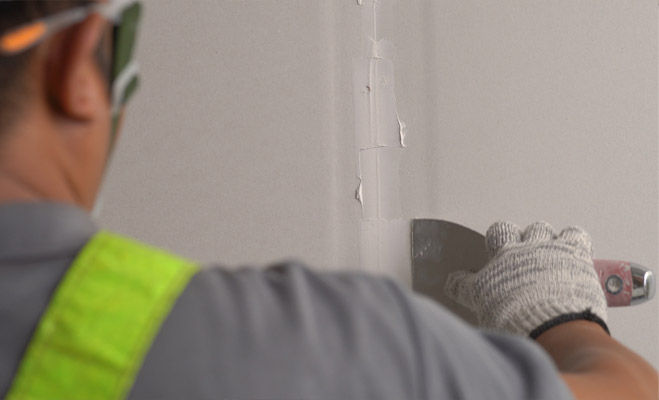
Fill in the spaces between the boards with the compound.
a. Use a 4-inch taping knife to spread the jointing compound along the seams. This first layer (tape coat) should be about four inches wide, centered on the joints in your drywall sheets/gypsum boards.
b. Apply paper joint tape along the joints. The compound you applied will keep it in place. Next, use your 6-inch taping knife to apply a second coat on top of the paper joint tape, using just enough to seal the tape in place. Normally there would be a skim coat after this, but Knauf boards and compounds are smooth and seamless so the finished product is ready to receive paint.
.
.
INSTALLATION VIDEOS
For a more visual guide on how to install drywall, check out this short step-by-step walkthrough:
If you need sturdy, cost-efficient interior linings for your next project, Knauf has a range of products that will suit your application needs. Click to learn more about our high-quality gypsum boards.
.
.
GOT QUESTIONS? WE'LL ANSWER THEM!